We’re back from our slight detour to swing back into web app testing! Don’t worry though, I haven’t given up on wireless stuff. More content for that coming soon!
In this post, I’m going to walk through a demo that makes use of my favorite Burpsuite extension: Autorize. Autorize is a plugin that makes testing for access control vulnerabilities easy. You can just let it run in the background as you peruse the web app you’re testing and it will tell you what can be bypassed automagically!
So, let’s jump right into the demo.
Installing Autorize
Autorize doesn’t come with Burp by default. To use it’s magical powers, we’re going to have to install it ourselves. Luckily Burpsuite makes this super easy for us by hosting it on the BAppstore. You can find the BAppstore under the extensions tab. Then a simple search for “Autorize” will pull it right up for you:

Then just click the orange “Install” button to install it. My button says “Reinstall” because I already have it all setup.
If you have a greyed out button, you’ll need to install and configure Jython because Burpsuite is a Java tool and Autorize is written in Python. To do that, you can download the Jython standalone here. Then, just go to the “Extensions settings” under the “Extensions” tab and add the location of your Jython standalone JAR file like so:
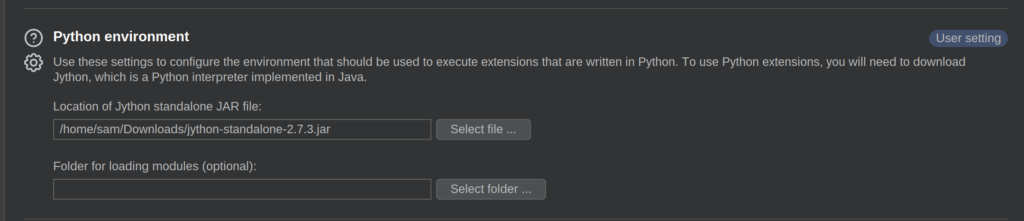
And now you should be able to run Autorize!
Demo Time
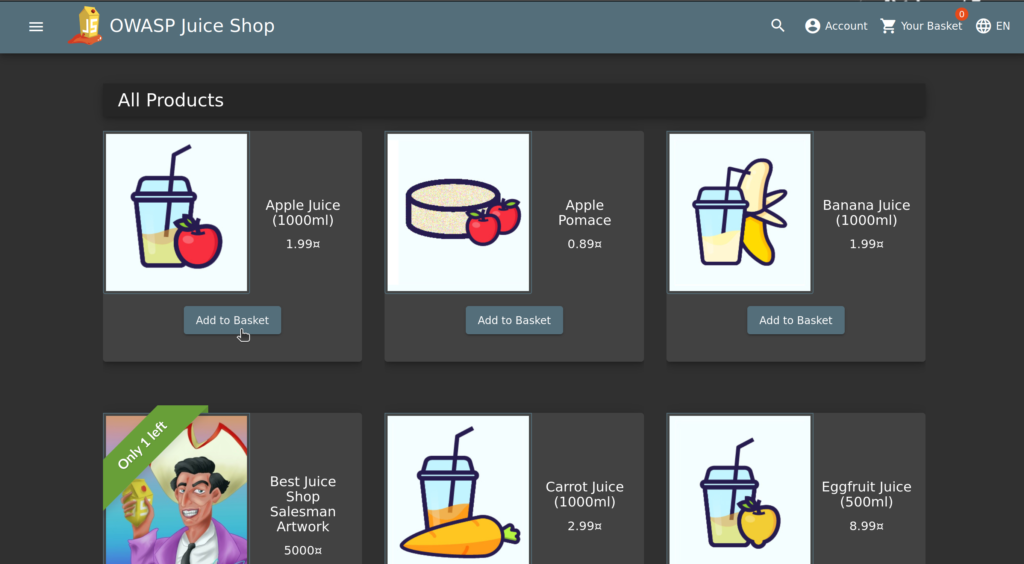
For demonstration purposes, I’m going to be testing an instance of OWASP Juiceshop running locally. If you haven’t heard of it, Juiceshop is a web app built with modern web technologies designed to be intentionally vulnerable so that you can practice what you’ve learned. It also has a ton of guided walk-throughs so I highly recommend trying it out if you want to get into web penetration testing.
Ok, let’s get started. To run Autorize, we’re going to have to be running Burpsuite and have it proxy our web traffic (no surprise there). For Autorize to be able to auto-magically test for Authorization bugs, it needs whatever headers the web app uses for authentication.
I went ahead and created two accounts for testing: sa********@***il.com and sa********@***il.com. To start, I’ll login in with sambamsam1 and grab the header I need to copy over to Autorize:
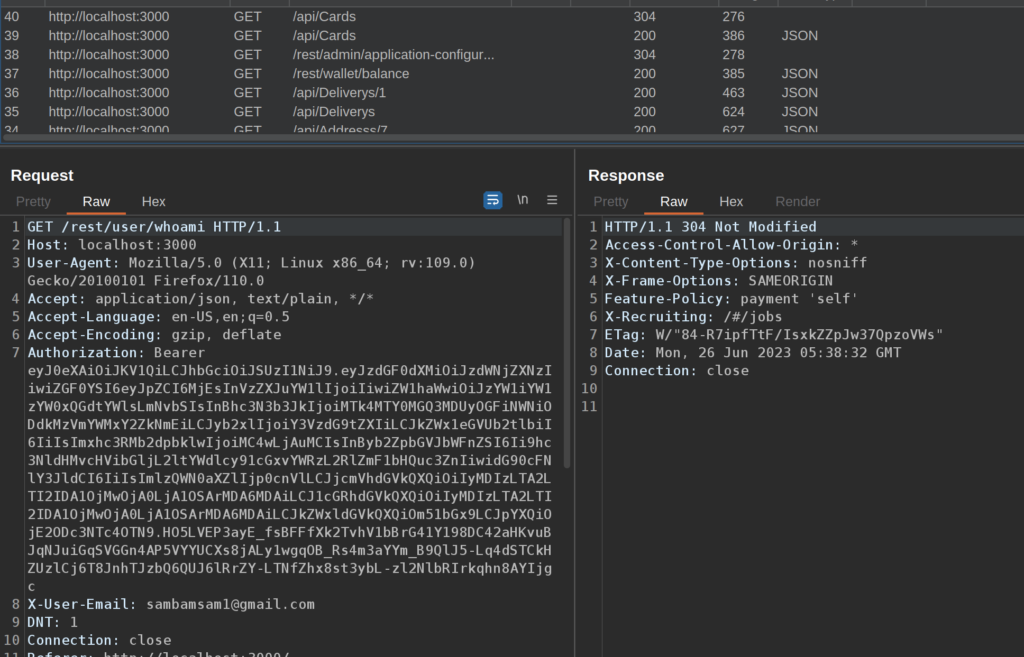
OWASP Juice shop uses Bearer Tokens to authenticate, so I copied the entire Authorization header. Then, over in the new Authorize tab, you can just paste it in:
And that’s all you need to set up Autorize. Pretty simple really. I like to add some filters to the list to make things easier for me. One of the filters I set up on every run is the “Scope items only” filter. This is essential if you’re testing on a Bug Bounty Program.
Additionally, I like to add a “URL contains” filter (you can select them from the drop down then add content if needed), if I’m targeting a specific domain or endpoint. If I’m testing an API that makes excessive use of OPTIONS requests, there’s an option to filter those out too.
Once you’ve got that all setup, logout and log back in as another user (in my case, sambamsam2) and you’re good to go! Click the “Autorize is off” button at the top and it will turn bright blue to indicate that everything is running.
Now, all you have to do is browse the application like a user normally would. In this example, I added an item to my shopping cart as my sambamsam2 user.
Popping back over to the Autorize tab, you’ll see a ton of requests pile up:
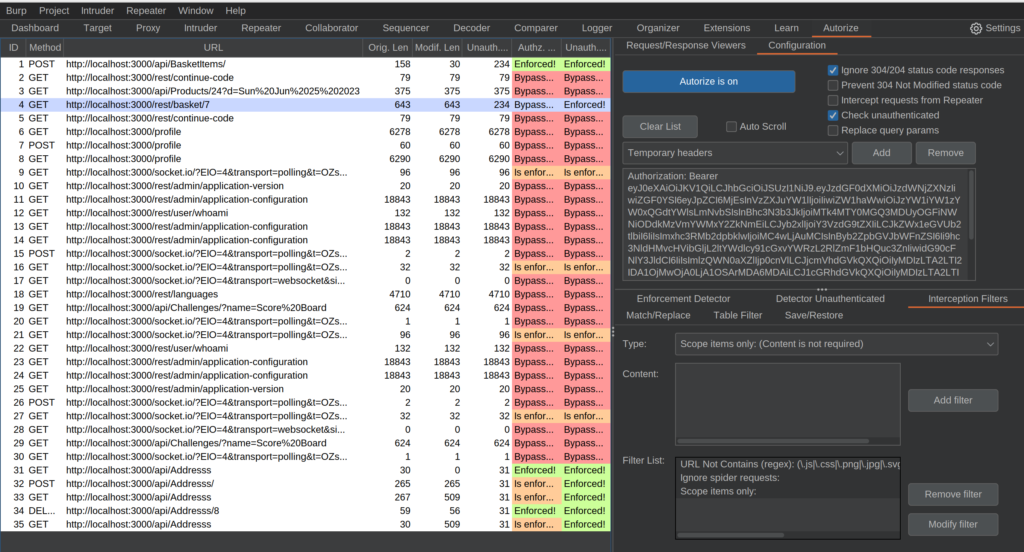
The two columns with all the colors tell us if the authentication was bypassed with the temporary header (our other user’s authentication) or without any authentication at all. A lot of these requests aren’t of any interest to us. However, request 4 stood out to me because it seemed to have a simple numerical ID associated with it and seems to be accessible by our other user.
We can right-click the request and send it to the Repeater (or Ctrl+R) for a closer look.

In the Repeater tab, we can verify that the request is successfully being sent with the authorization token of our logged out user:
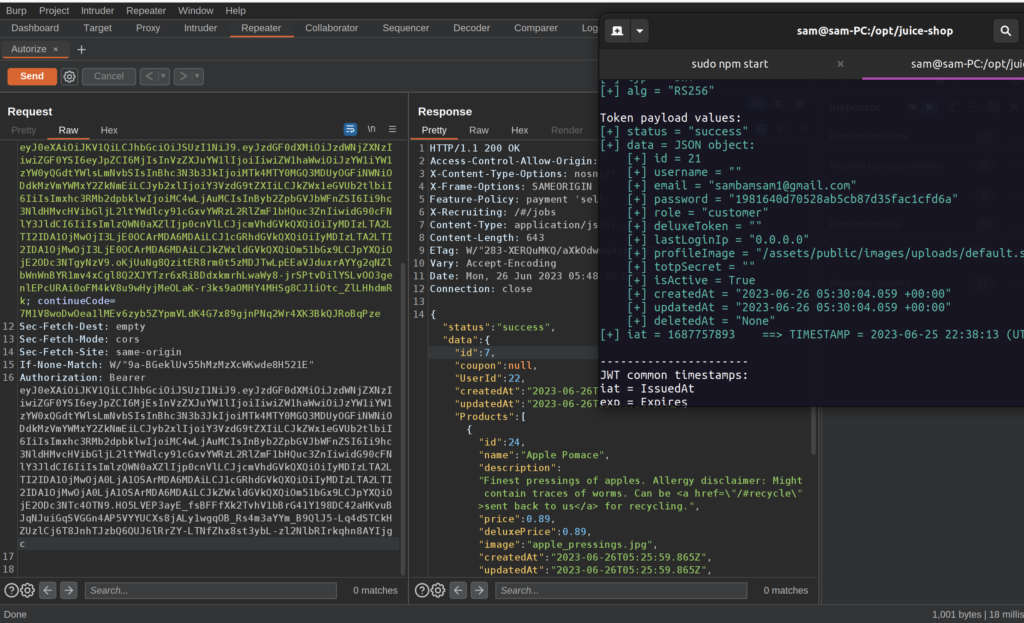
And it looks like any logged in user can access other user’s shopping cart just by adding the correct ID to the URL. This vulnerability is known as an Insecure Direct Object Reference (IDOR) and can vary in severity depending on the predictability of the ID and the confidentiality of the data. In our case, items in a users shopping cart isn’t as revealing as a user’s address or social security number, but a numberic ID in the single-digits can be easily guessed, making this a bug of medium severity.
I used jwt_tool in my terminal window to verify that the JWT Token in the request belonged to my other user, sambamsam1. jwt_tool is great for disecting JWT’s conveniently but it can also be used for exploiting the technology behind JWT’s. Maybe I’ll have to do a tutorial on that…
Conlcusion
As you can hopefully see, Autorize makes testing for Authentication vulnerabilities extremely easy. With Autorize, all you have to do is casually browse the application while it runs in the background.
I used to have to go back and copy headers to every request I thought was interesting and resend the request every time I wanted to verify an IDOR or some other similar vulnerability. Now I can let it run while I explore or do other testing. Just don’t forget to check back every once in a while or you’ll have tons of requests to dig through.
Autorize helped me find my first paid bug, which used a privilege escalation to perform IDORs. I found a JWT that seemed to belong to an admin user and used Autorize to see what it allowed me to have access to.
Hope you add this tool to your arsenal and it helps you as much as I do! Stay tuned for more hacking tutorials coming soon!